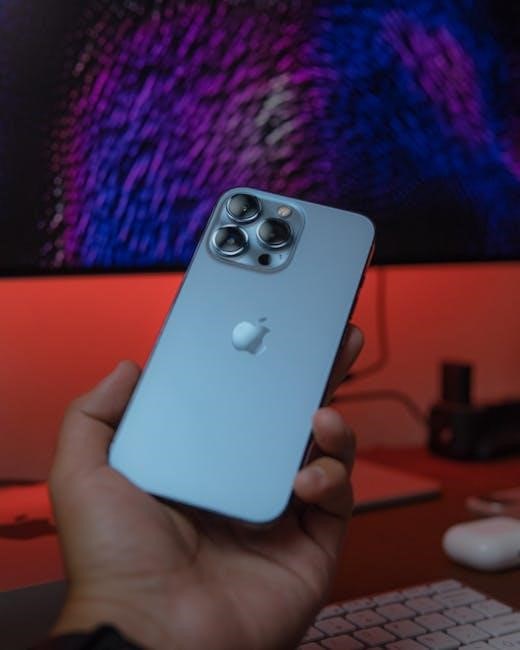
The Arzopa Portable Monitor is a cutting-edge, lightweight display designed for versatility and convenience. It offers crisp visuals and seamless connectivity, perfect for work and play.
With its sleek design and user-friendly interface, this monitor enhances productivity and entertainment on the go, making it an ideal companion for professionals and gamers alike.
1.1 Overview of the Arzopa Portable Monitor
The Arzopa Portable Monitor is a sleek, lightweight display designed for on-the-go use, offering FHD resolution and versatile connectivity options like USB-C and HDMI. Its compact design makes it ideal for professionals, gamers, and anyone needing an extra screen. The monitor supports 1080p resolution and is compatible with devices like laptops, consoles, and tablets. It features a user-friendly interface and built-in speakers, though it requires external power as it lacks an internal battery. Perfect for multitasking, it enhances productivity and entertainment seamlessly.
1.2 Key Features of the Arzopa Portable Monitor
The Arzopa Portable Monitor boasts a 15.6-inch FHD display with 1080p resolution, ensuring vibrant visuals. It features USB-C and Mini HDMI connectivity, supporting seamless device linking. Lightweight and compact, it’s designed for portability. Built-in speakers offer audio convenience, though it requires external power. The monitor is ideal as a secondary screen, enhancing multitasking efficiency for both work and entertainment. Its user-friendly design and compatibility with various devices make it a versatile tool for professionals and gamers alike, providing a reliable and efficient portable display solution.
1.3 Package Contents
The Arzopa Portable Monitor package includes the monitor itself, a USB-C to USB-C cable, a Mini HDMI to HDMI cable, and a comprehensive user manual. These components ensure easy setup and connectivity. The USB-C cable supports both power and data transfer, while the Mini HDMI cable connects to devices with standard HDMI ports. The user manual provides detailed instructions for installation, operation, and troubleshooting, ensuring a smooth experience for users. This complete package offers everything needed to start using the monitor right out of the box.

Setting Up and Installing the Monitor
Setting up the Arzopa Portable Monitor involves unboxing, connecting cables, and powering on. The process is straightforward, ensuring a quick and hassle-free experience for users.
2.1 Unboxing and Preparing the Monitor
Begin by carefully unboxing the Arzopa Portable Monitor. Inspect for any damage and ensure all components are included, such as the monitor, cables, and user guide. Gently remove the protective covering from the screen. Organize the accessories, including the USB-C and Mini HDMI cables. Before powering on, ensure the monitor is placed on a stable surface and all ports are easily accessible. This step ensures a smooth setup process and prevents potential issues during use. Always handle the monitor with care to maintain its longevity and performance.
2.2 Connecting Devices to the Monitor
To connect your device to the Arzopa Portable Monitor, use the provided USB-C or Mini HDMI cable. For USB-C, plug one end into the monitor and the other into your device, ensuring both power and display are transmitted. For HDMI, connect the Mini HDMI cable to the monitor and the standard HDMI end to your device. Ensure the monitor is powered on and select the correct input source. This establishes a stable connection for seamless display. Always use the cables provided to maintain compatibility and optimal performance.
2.3 Powering the Monitor
The Arzopa Portable Monitor requires an external power source for operation. Connect it using the provided USB-C cable or a compatible power adapter. Ensure the power source delivers at least 5V/2.4A to function properly. The monitor does not have an internal battery, so it must be plugged in during use. For optimal performance, use the cables included in the package or certified accessories. Always verify that the connected device or power adapter meets the required power specifications to avoid any issues during operation.

2.4 Initial Setup and Activation
After connecting your Arzopa Portable Monitor, press the power button to turn it on. The monitor will automatically detect the connected device; Ensure the correct input is selected using the on-screen menu. Adjust brightness, contrast, and orientation as needed for optimal viewing. For first-time use, follow the on-screen instructions to complete any additional setup steps. Make sure the monitor is placed in the correct orientation and is securely connected to avoid any display issues. Proper activation ensures smooth performance and compatibility with your device.

Using the Arzopa Portable Monitor
The Arzopa Portable Monitor is designed to enhance productivity and entertainment. Use it as a second screen for multitasking or enjoy its vibrant display on the go. Built-in speakers add to the immersive experience, making it a versatile tool for work and play.
3.1 Basic Operations and Navigation
Using the Arzopa Portable Monitor is straightforward. Connect it via USB-C for both power and display. Navigate using the built-in control buttons to adjust brightness, contrast, and volume. The monitor features built-in speakers, enhancing your multimedia experience. Its lightweight design makes it easy to carry and set up anywhere. With plug-and-play functionality, it seamlessly integrates with laptops, consoles, and other devices, offering a hassle-free user experience. Whether for work or entertainment, the Arzopa monitor delivers convenience and performance on the go;
3.2 Adjusting Display Settings
Adjusting the display settings on the Arzopa Portable Monitor ensures an optimal viewing experience. Use the built-in control buttons to modify brightness, contrast, and color balance. The monitor also supports adaptive brightness, automatically adjusting based on ambient light. For further customization, access the on-screen display (OSD) menu to fine-tune settings like sharpness and color temperature. Built-in speakers enhance audio quality, while the monitor’s lightweight design ensures portability without compromising visual clarity. These features make it easy to tailor the display to your preferences, whether for work, gaming, or streaming.
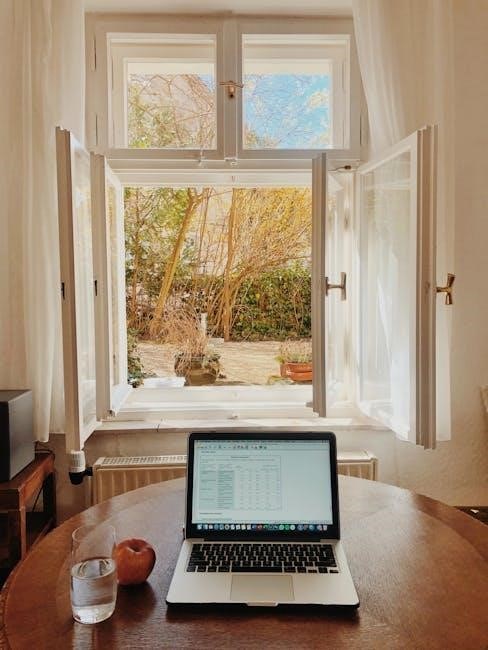
3.3 Using the Monitor as a Second Screen
The Arzopa Portable Monitor excels as a second screen, enhancing multitasking capabilities. Connect it via USB-C or mini HDMI to expand your workspace, allowing simultaneous use of two displays. This setup boosts productivity, enabling efficient task management and seamless navigation between applications. Its portability ensures flexibility, making it ideal for extending screen real estate on laptops, tablets, or gaming consoles. With vibrant visuals and a responsive display, it’s perfect for splitting work and entertainment, ensuring a smooth and efficient user experience in any setting.

Troubleshooting Common Issues
Identify and resolve common problems like connectivity issues, display glitches, or power malfunctions by checking connections, restarting the monitor, and consulting the user manual for solutions.
4.1 Common Problems and Solutions
Common issues with the Arzopa Portable Monitor include connectivity problems, display glitches, or power malfunctions. If the monitor doesn’t turn on, ensure it’s properly powered and connected. For no display, check the input source and cables. Screen flickering may result from incorrect display settings or loose connections; Adjust settings or replace cables if necessary. Audio issues can be resolved by checking volume levels and ensuring proper connectivity. Refer to the user manual for detailed troubleshooting steps to address these concerns effectively.
4.2 Resolving Connectivity Issues
Connectivity issues with the Arzopa Portable Monitor can often be resolved by checking the cables and ports. Ensure the USB-C or HDMI cable is securely connected to both the monitor and the device. If using HDMI, verify that the Mini HDMI to HDMI cable is properly plugged in. Restart both devices to establish a fresh connection. If issues persist, check the device’s video output settings to ensure it is set to recognize the external monitor. Consult the user manual for specific troubleshooting steps tailored to your model.
4.3 Addressing Display-Related Concerns
If the monitor’s display appears dim, flickers, or shows incorrect colors, adjust the brightness and contrast settings via the on-screen menu. Ensure the connected device’s display settings are configured correctly, matching the monitor’s resolution. If the issue persists, restart the monitor and the connected device. For persistent problems, refer to the user manual for calibration guidance or contact customer support for further assistance. Proper power supply and cable connections are essential for optimal display performance.

Additional Resources and Support
Access comprehensive guides, troubleshooting tips, and downloadable manuals on the Arzopa website. For further assistance, contact customer support via email or visit their official support page.
5.1 Accessing the User Manual
The Arzopa portable monitor user manual is available for download on the official Arzopa website. It provides detailed instructions for setup, features, and troubleshooting. To access it, visit the support section and search for your specific monitor model. The manual is typically in PDF format and covers topics like connectivity options, display settings, and maintenance tips. Ensure to download the correct version for your device, such as the A1 15.6 Inch or S1 Table models, to get accurate information. For further assistance, contact customer support directly.
5.2 Warranty and Customer Support Information

Arzopa offers a comprehensive warranty program for its portable monitors, ensuring protection against manufacturing defects. Customers can access warranty details through the official website or user manual. For support, visit the Arzopa support center, where downloadable resources, troubleshooting guides, and contact options are available. Reach out to the customer service team via email or phone for personalized assistance with setup, repairs, or general inquiries. Warranty periods and terms may vary by region, so check the specific details for your purchase location.